Development & Debugging
This guide details how to create or import a skill, and manage files, use the interactive terminal, and perform debug chat in Web IDE.
1. Creating & Importing Skills
Before writing code, you need to create a development project in the skills list. The platform supports two ways to create or load a skill:
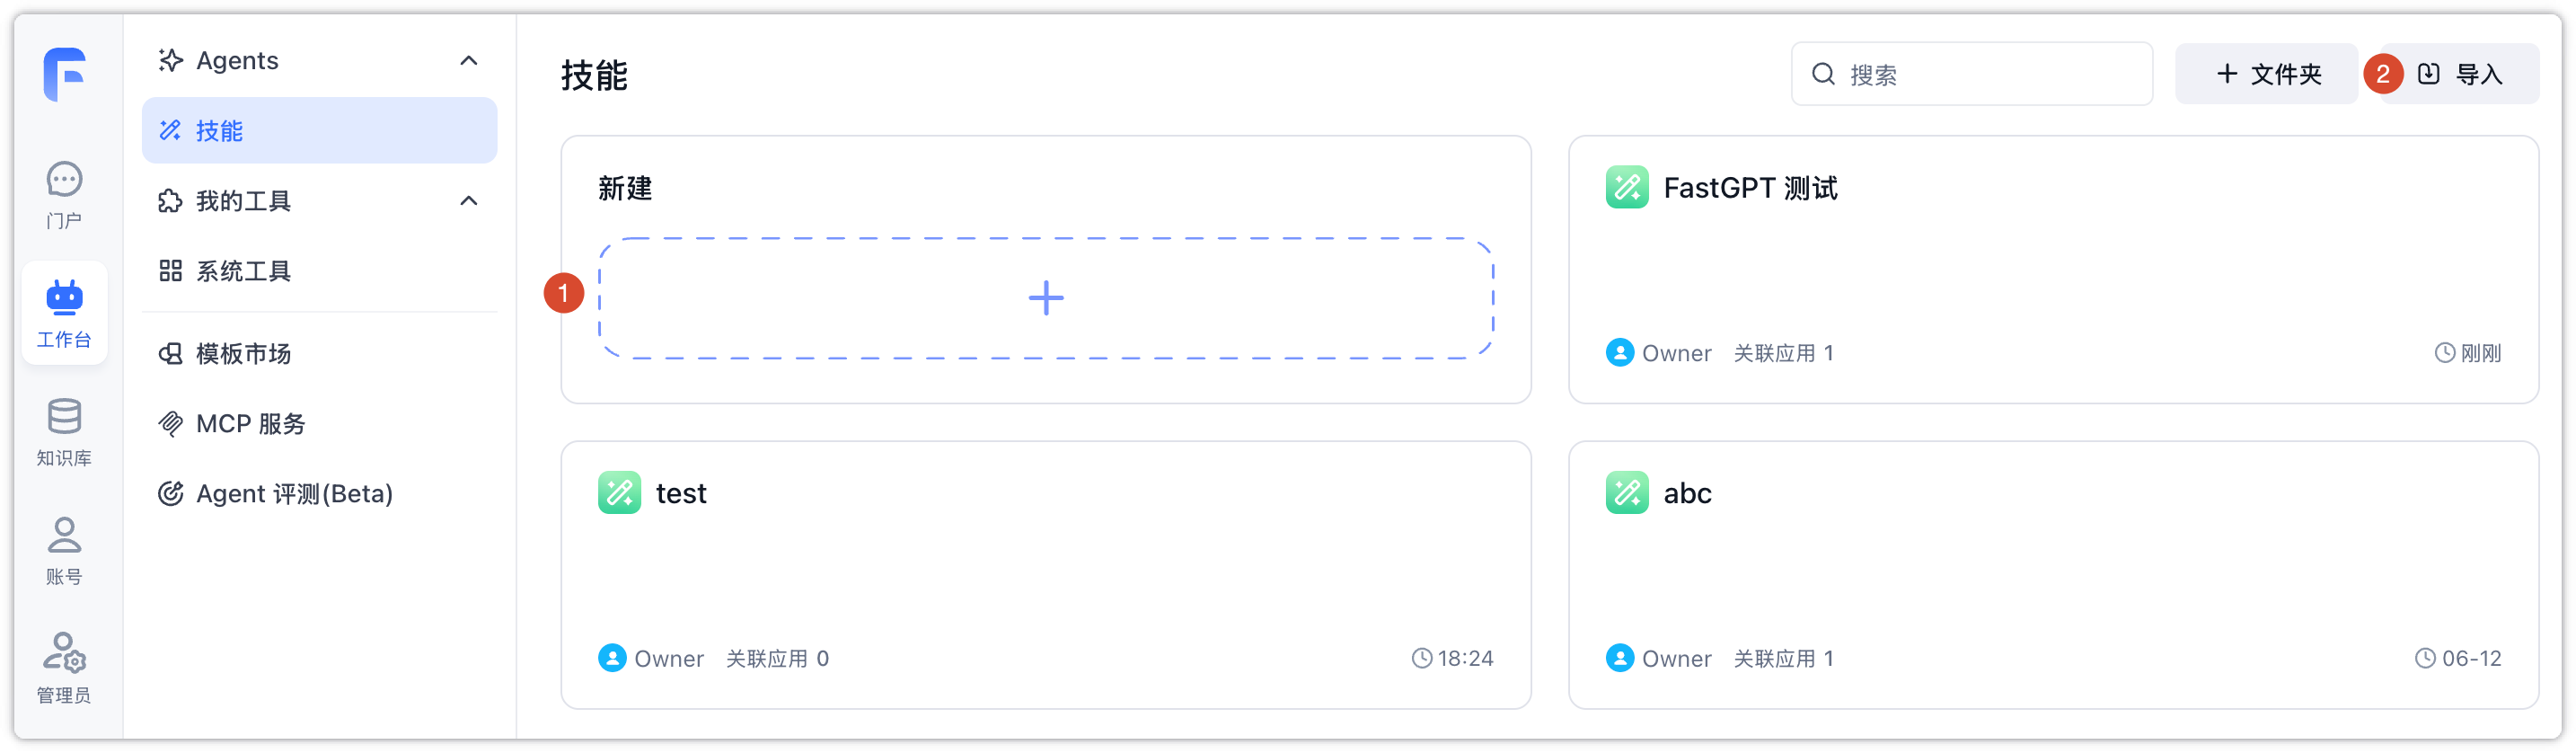
1.1 Click the Create Area to Create a Skill
Click the "Create" card (the dashed box area with a plus icon) on the page. In the popup, set the skill name, icon, description, and requirements. When the system initializes the skill in the background, it takes different approaches based on your input:
- Using Default Template: If you leave the default "Goal/Process/Requirements" template unchanged, the system will use the built-in basic structure and boilerplate code to generate the skill workspace (without invoking AI models, consuming no points).
- AI-Assisted Generation: If you input custom functional requirements here (e.g., "help me write a skill that extracts all email addresses from a text"), the system will invoke the configured default system LLM model in the background to automatically generate the
SKILL.mdscheme and initialize the code, which will consume points.
1.2 Import an Existing Skill ZIP Archive
If you have a skill backed up or shared by others, click the "Import Skill" button at the top right of the page and upload the corresponding ZIP archive. The system will automatically unzip it and restore all code files and configurations in the background, allowing you to resume development immediately.
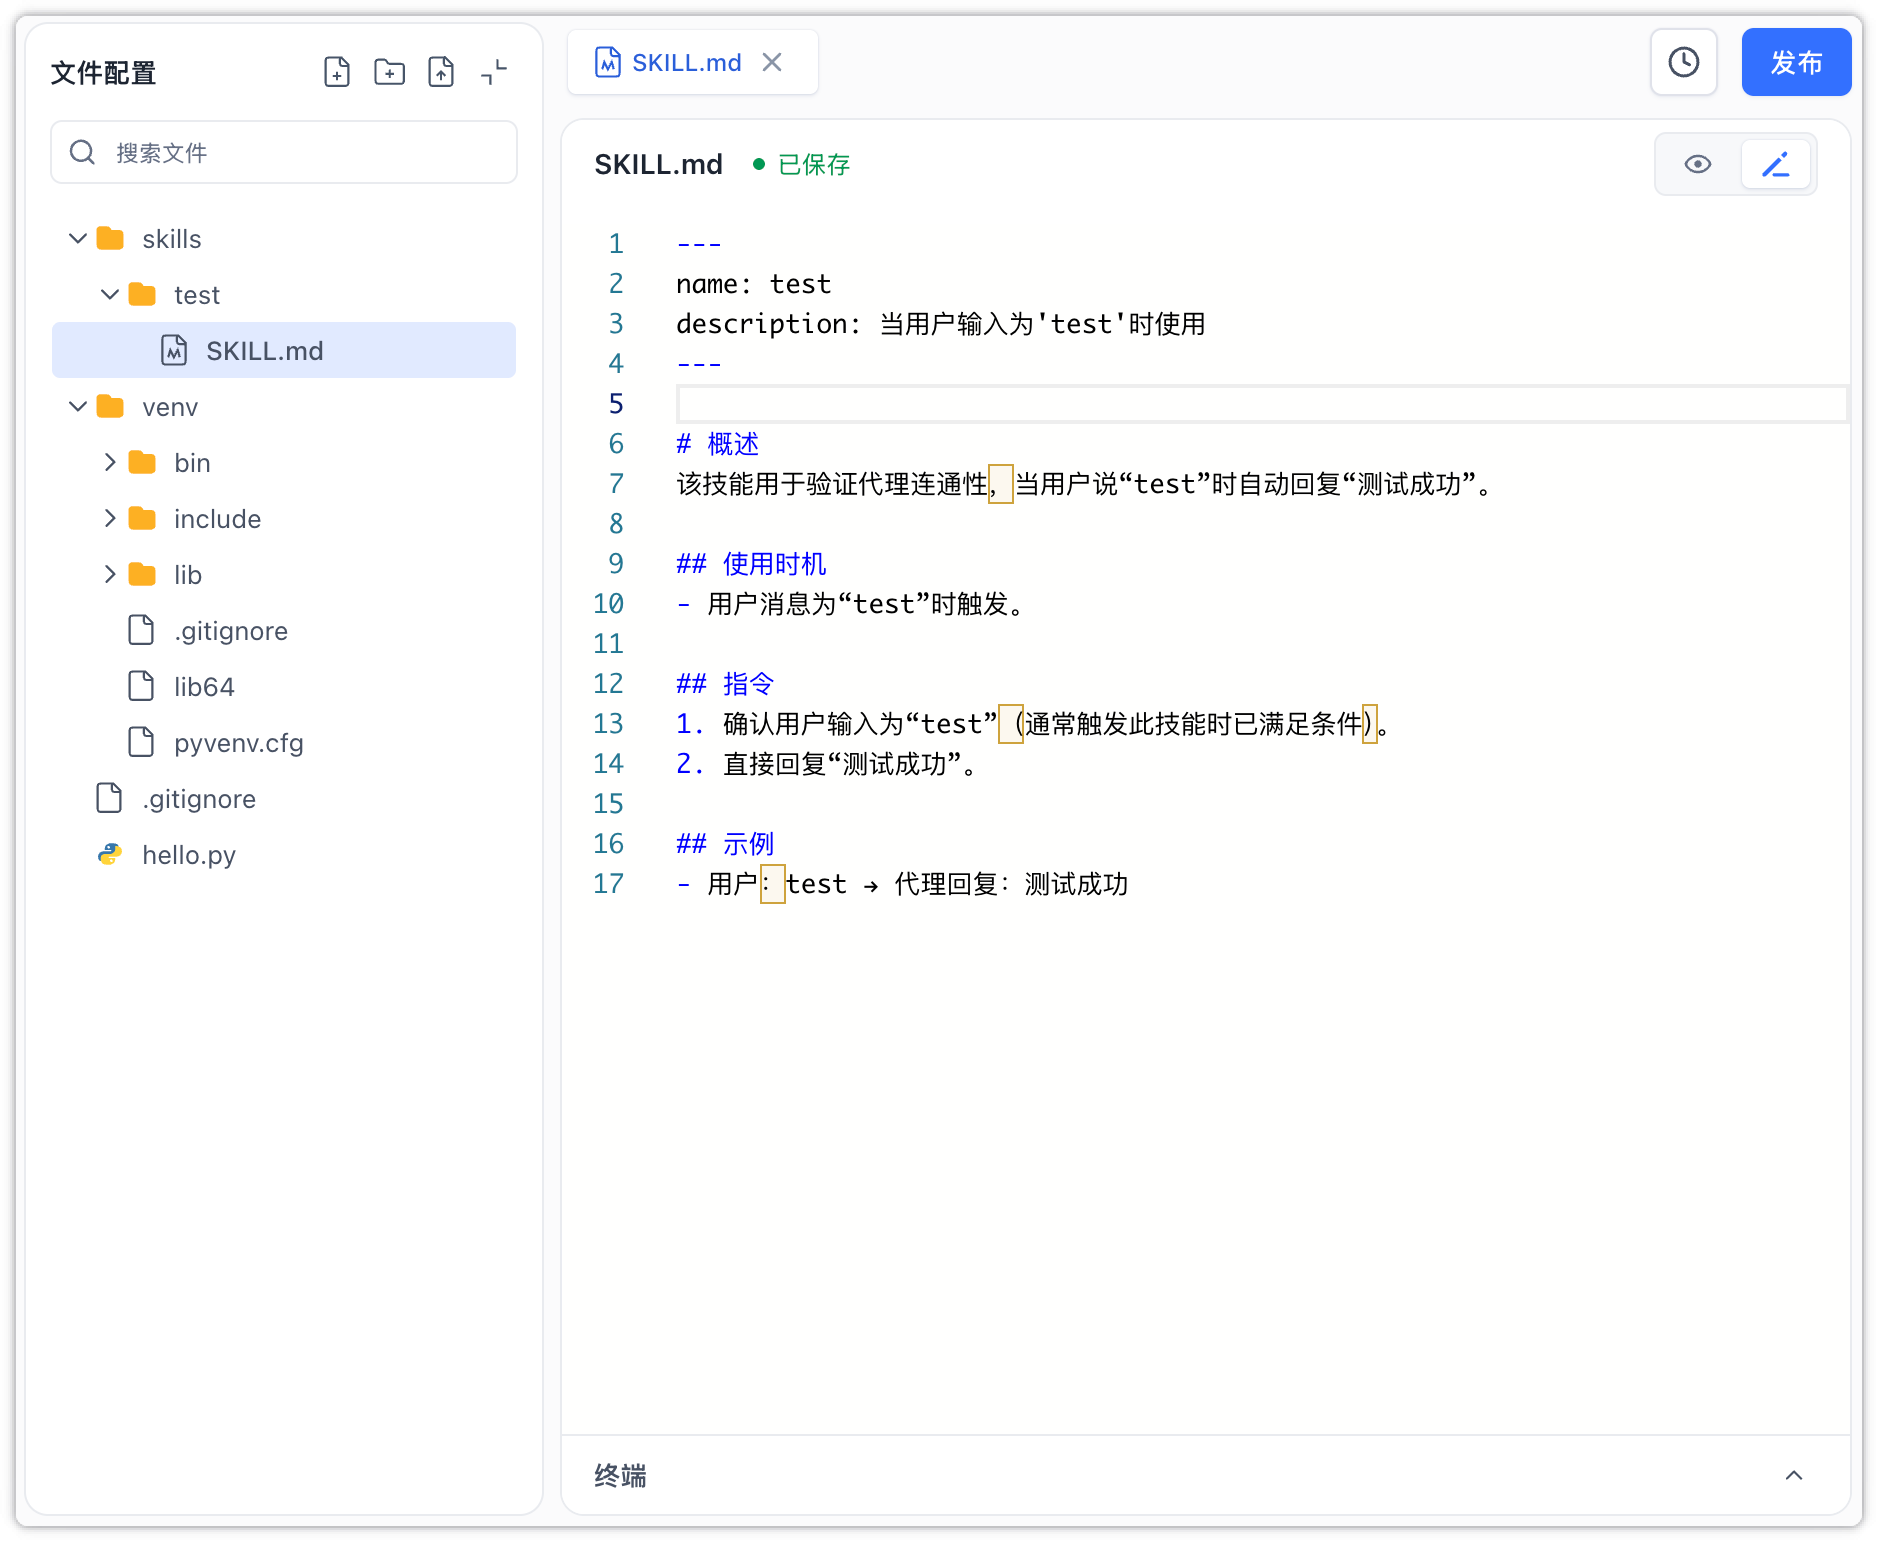
2. Workspace File Management
When you open the skill details page, the system initializes and provisions an isolated run workspace in a secure sandbox container, loading your project via the file tree on the right.
2.1 Multi-file Management
You can right-click or use action buttons on the file tree on the right to easily create, delete, rename, and move files or folders to organize your project structure.
2.2 Online Code Editing
Clicking any file in the tree opens it in the center editor:
- Auto-Save: The editor automatically saves and syncs your edits to the backend sandbox container as you type.
- Real-Time Workspace Sync: The file tree automatically monitors and syncs file changes. Whether you edit files, install package dependencies in the terminal, or background processes generate new files, the tree stays updated.
- Change Isolation: Any code changes made here only take effect instantly in the debugging environment, and will not directly affect live applications. To apply the latest code to production, you must click the "Publish" button to generate an official version. For details, please see Versions & Publishing.
2.3 Two-way Interactive Terminal
The command line terminal at the bottom right connects directly to the backend sandbox:
- Running Commands: You can enter various command line operations, such as installing required code dependencies online or executing various custom running and debugging scripts.
- Log Feedback: The terminal streams command execution logs in real time. If code or script execution errors occur, you can view the error messages directly in the terminal output to assist with debugging.
3. Agent Debug Chat
The agent debug panel on the left provides a testing environment, allowing you to test and call your custom skill logic in real time by chatting with the agent:

3.1 Immediate Effect
Every time you modify and save your code in the right editor, you don't need to manually compile, build, or redeploy. Simply send a new message in the chat box on the left, and the system will run the latest code in the background, allowing you to see the changes instantly.
3.2 Conversational Workspace Modification
You can directly chat with the agent to have it help you edit the file contents on the right (including creating, deleting, and modifying files). The file tree and editor on the right will reflect these changes in real time.
3.3 Real-time File Export
You can click "Export Config" in the top-right menu to package all code and configuration files in the current workspace into a ZIP archive and download it locally for backup or sharing.